I started with the mask pattern shared online at https://www.craftpassion.com/face-mask-sewing-pattern/, but I made a bunch of modifications / adaptations to produce a handmade, fully washable, reusable mask with no disposable parts, that was as close to an N95 mask as I could make it.
Differences from the original:


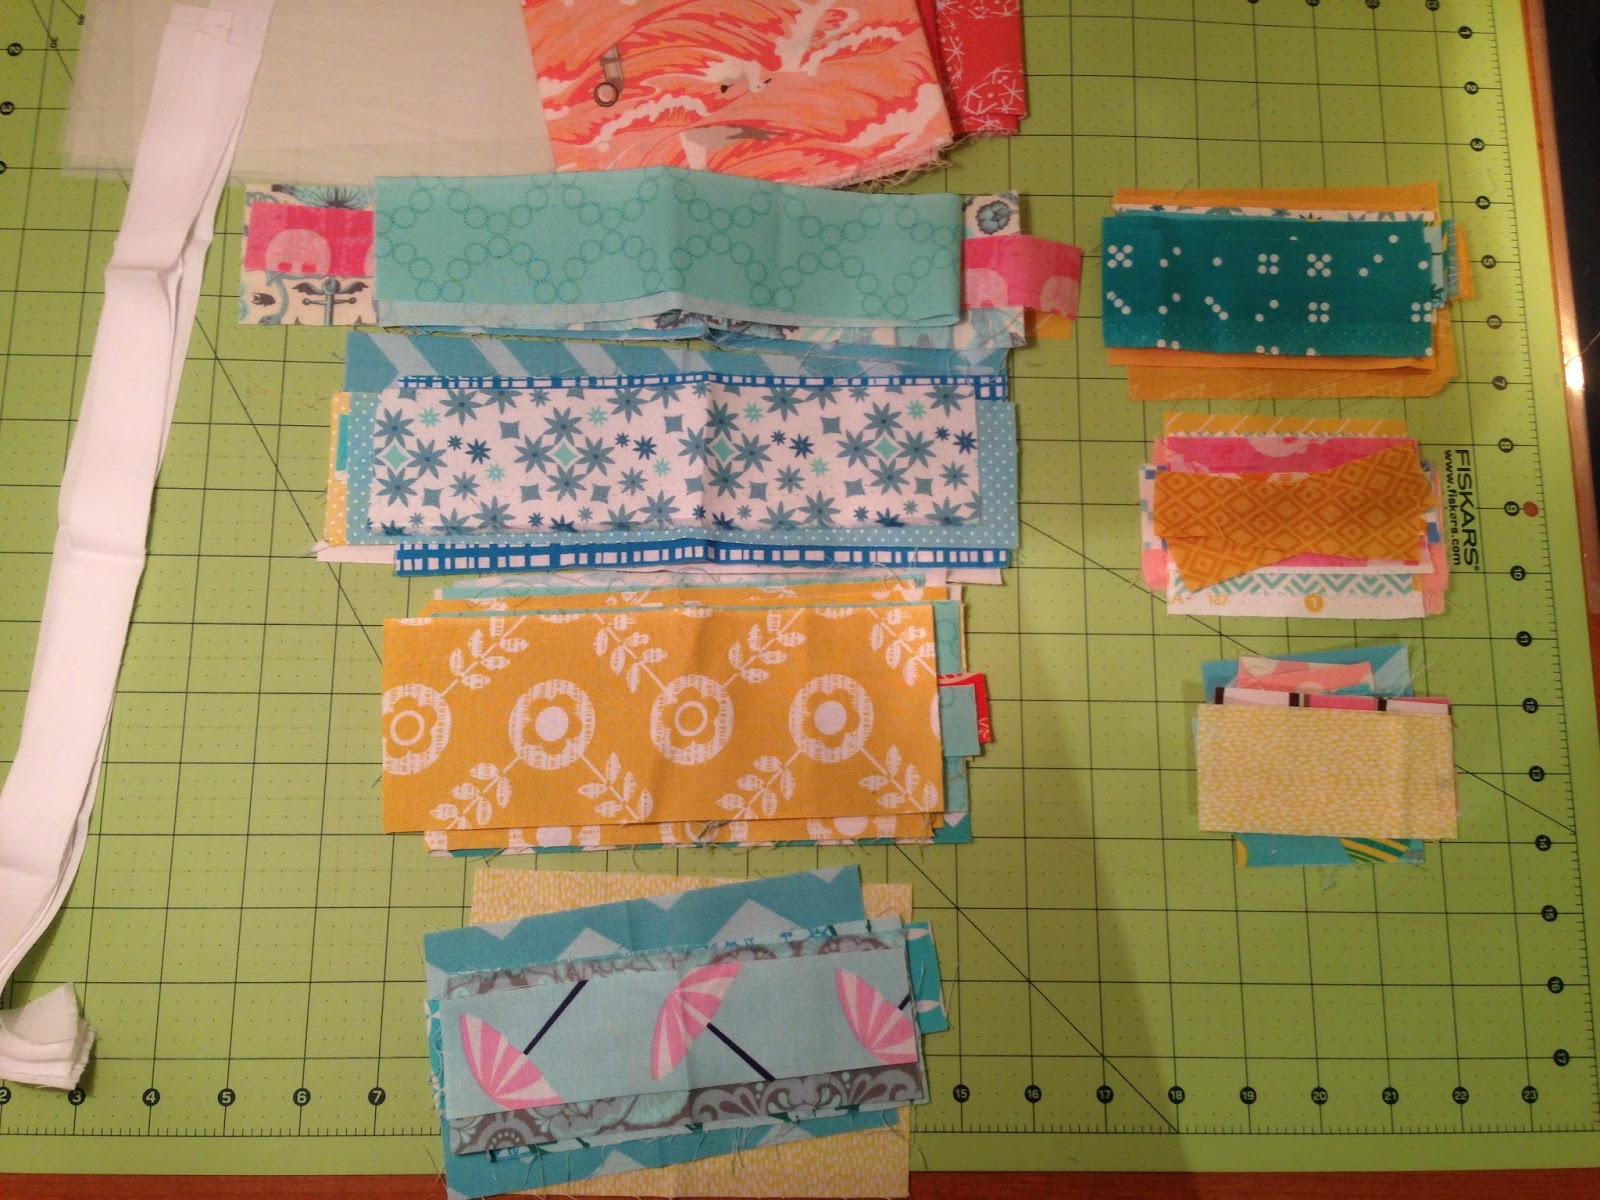
When you have cut and assembled all your pieces, you should have this:


Differences from the original:
- Added an interior felt layer to act as a droplet filter
- Added malleable wire over the nose bridge to allow a close fit to the face
- Elastic is sewn on directly, so that the sides of the mask do not gather under tension
- Added a "Large/Tall Man" size because the upper ear elastics were too low on my tall husband to fit comfortably over his ears
Required materials:
- Two felt liner pieces
- Two interior fabric pieces (I used muslin or quilting cotton)
- Two exterior fabric pieces cut as mirror images of one another (I used patterned quilting cotton)
- Two pieces of 5/8" wide grosgrain ribbon with length =
- 3.0" for Tall/Regular Man mask
- 2.5" for Woman/Teen mask
- 2.0" for Child mask
- One piece of garden wire, or other thick but bendable wire with length =
- 6" for Tall/Regular Man
- 5" for Woman
- 4" for Child
- Two pieces of flat elastic (lengths may vary and should ideally be measured to fit). Estimates:
- 7.5" and 9" for Woman
- 8" and 10" for Man
- Child sizes vary with child age
Patterns: cut out 2 felt liners, 2 interiors, and 2 exteriors ---> make sure exterior (and any other fabric with a "right" side) pieces are cut as mirror images. Click on the pattern images to get a link to a full-size PDF for printing.

Use an open flame to melt the ends of the grosgrain ribbon so that it doesn't fray.

Stitch the grosgrain ribbon onto the edge of each felt insert, leaving about 1/2 inch between the end of the ribbon and the front nose bridge area. Leave the edge near the nose bridge open, but secure the other three edges to the felt. Make sure you stitch the ribbon onto mirror image sides of the felt!

When the ribbon is attached, place the felt on top of the interior lining muslin or cotton. Set the felt about 3/8" from the curved edges (it will be farther from the straight side edge).

Attach the felt to the lining fabric. Stitch about 1/4" inside the edge of the felt. It's okay to overlap the attached ribbon, as long as the ribbon still has a wide enough opening to fit your wire inside.

When you've attached the felt, your two lining pieces should look like this:

Roll the side edges under so there are no raw edges visible, and topstitch down.

Now put the two sides together, felt side out. Line up the felt along the long curved edge and stitch through both layers, right along the edge of the felt. Make sure you stitch just a tiny bit on top of the felt, so that the seam captures the felt in it. Turn the piece over and make sure your stitches also caught the felt on the back side. If needed, stitch the seam again from the reverse side to make sure you've caught the felt in the seam on both sides.

Your attached pieces now look like this:

Hold your mask lining up to the light and look along the nose seam to make sure that the felt has been captured along the seam on both sides. Anywhere you've missed the edge of the felt, you'll see a gap of light shining through along the seam---this is how virus droplets get in! If you see gaps, stitch the seam again, making sure to catch the felt in the seam.

Use a pinking shears to trim the excess fabric off the inside of the nose seam. You've now finished the mask lining!

Take the exterior fabric pieces. Lay right sides together and stitch along the nose seam with a 3/8" seam allowance.


Take your fabric scissors and clip along the convex seam so that it will lie flat. Be sure not to clip too far and cut into the seam!


Finger press the seam open and top-stitch to stabilize. It's a little tricky to maneuver the concave fabric to stitch the seam, so go slow!


Now you have a finished exterior!

Tuck the exterior into the lining piece. Make sure the right side of the exterior fabric is facing in to the smooth lining fabric (so the pieces are right sides together).

Line up the center nose seam of the lining and with that of the exterior. Pin (I've used clips) along the top seam line, starting from the aligned center and then out to the edge.

Sew the top seam together right at the edge of the felt. Make sure you backstitch at the beginning and end of this seam. It makes it much easier to turn right-side-out in a few steps.

This time, your stitch line is just off the edge of the felt, so that the felt isn't bulky in the seam. The video clip shows how you want to sew right against but not on the edge of the felt.
Remember to backstitch at the end of the seam.
Now align the bottom edge of the lining and the exterior. Line up the central nose seams, then pin or clip out to the edges.


Sew the bottom edge, just outside the edge of the felt like you did on the top seam. Make sure to back stitch at the beginning and end.
Now your mask pieces are connected together, inside out.

Take your piece of garden wire and fold it in half to find the middle.

Tuck each end of the wire into the grosgrain ribbon pockets on each side of the nose bridge, then slide the wire until it is fully inserted into the pockets.

Your inside out mask should now look like this:

Turn the mask right side out through one end. It's a little tricky because of the bulky / stiff felt and the wire. Go slowly.

Once your mask is right side out, it will look like this:


Make sure the wire is still tucked into its ribbon pockets, and bend it back into the correct shape. If the wire has slid out of one or both pockets during turning, carefully wiggle it back into place!
Now top stitch along the top and the bottom of the mask to get cleanly finished, turned edges. Go slowly around the curvature of the nose.


Finally, roll the raw side edges under, fold over the lining, pin or clip in place, and top stitch down to make a finished edge with a little tube pocket along the sides of the mask.


The body of your mask is now finished!! It should look like this:

The final step is to attach the elastic. For adult masks, I like to sew flat 1/4" width elastic straight on to the mask. You can also use one long piece of round elastic cord and thread it through the tube pockets on each edge of the mask (see original pattern). I find that this tends to make the mask bunch along the sides and gives a less good air seal on the face, so I prefer to sew the elastic on as below.
Fold over the raw edges of the elastic.

Place the folded-over elastic on the edge of the mask and securely stitch to the edge of the mask. The longer elastic goes on the top (nose) edge of the mask, and the shorter elastic goes on the bottom (chin) edge of the mask.

I like to stitch the elastic on in a box shape, with an X down the center.
Once you've attached your elastic, you have a finished mask!

I like to machine wash and dry the masks hot before I give them to people. This is helpful in a few ways:
- It removes the manufacturing starch / chemicals on the fabric that make it lie flat on the bolt so it won't irritate skin
- It proves to the recipient that the mask will survive a good hot wash
Stay safe and healthy out there!